
South Park Creator Guide: Turn a Character Idea into a Downloadable Avatar
A South Park creator guide for turning a rough character idea into an original paper-cut avatar with a clear look, personality, and downloadable result.
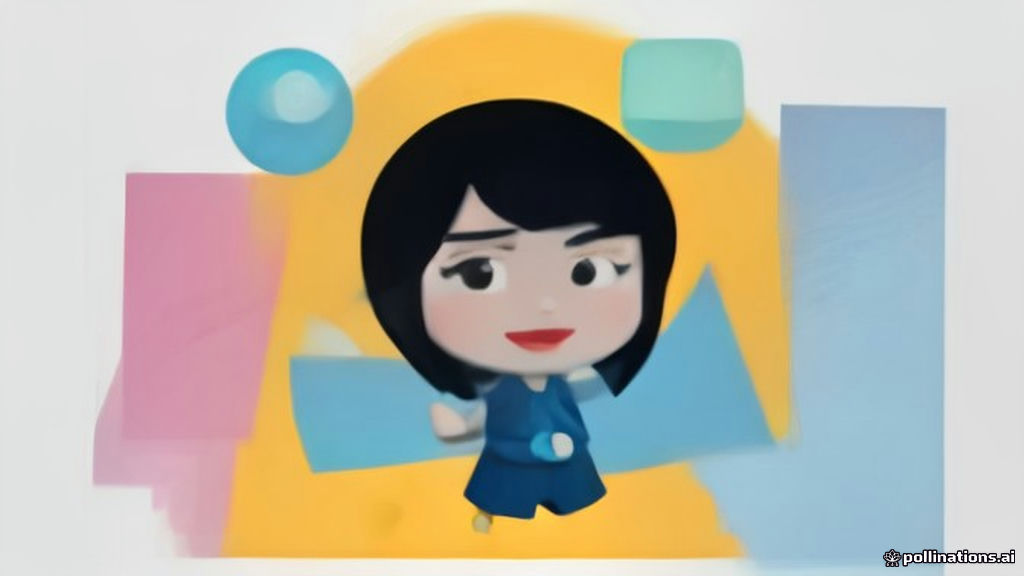
South Park Creator Guide: Turn a Character Idea into a Downloadable Avatar
A good South Park creator workflow starts with a sentence, not a blank canvas. Write down who the character is, what they are wearing, and where they are standing. Then translate those three ideas into a silhouette, a color palette, and a background.
The workflow below is designed for an independent South Park-inspired avatar creator. The result should be an original character with its own combination of details.
Turn a sentence into five choices
Use a short prompt such as “a calm book lover in a green sweater, standing in a snowy town.” Translate it into:
- Hair or hat: the first shape people notice.
- Outfit: the main color and visual role.
- Expression: the emotional read.
- Accessory: the clue that makes the idea more specific.
- Background: the place that completes the scene.
This structure keeps the process focused. You can always add another accessory later, but it is easier to edit a coherent starting point than a collection of unrelated details.
Use contrast to keep the face readable
The face is the most important area of a small avatar. Avoid using the same dark value for hair, glasses, and eyebrows. If the face starts to blend together, change the hair color or remove one accessory before changing the whole outfit.
A quiet background also helps. Snow, plain paper, and transparent scenes give the character more room, while a park or town scene adds context when the outfit is simple.
Preview before you commit
The character builder updates the preview as you switch hairstyles, outfits, expressions, poses, and scenes. Use that live result to compare two versions side by side in your head:
- The version that looks most like the original sentence.
- The version that is easiest to recognize at a small size.
Choose the second version when the two are close. A clear avatar travels better across profile images, stickers, and small social previews.

Export the right file
Choose PNG when you want a ready-to-share image. Choose SVG when you need to scale the character in a layout or keep the vector shapes editable. A transparent background is useful when you want to place the avatar on another design.
You can try the manual creator and download a result without signing up. Saved edits stay in the current browser, so keep a local copy of the finished PNG or SVG.
For more visual starting points, open the builder examples before you begin.